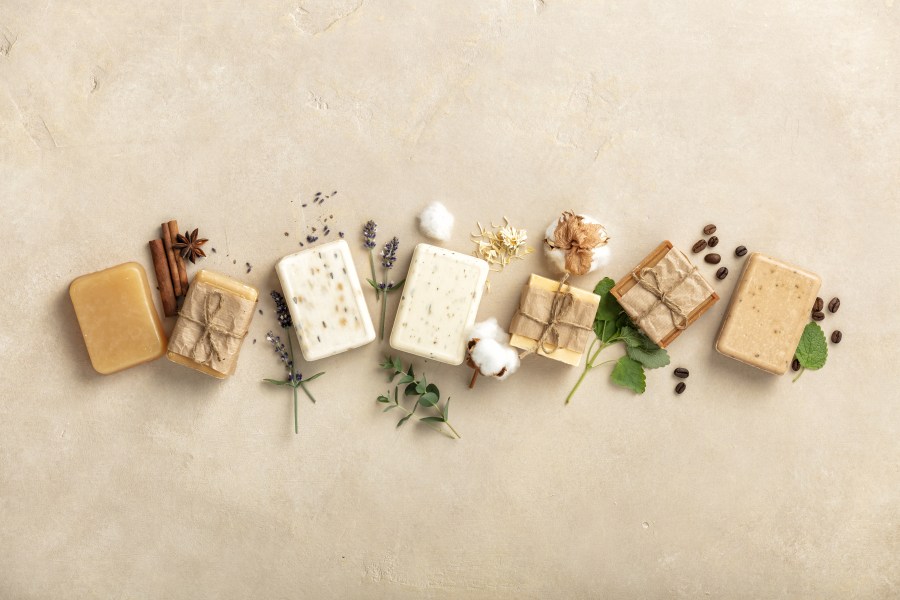
Tampa (BLOOM) – In a world inundated with mass-produced skincare products, the allure of crafting your own premium soap is a siren’s call to elevate your self-care routine. Imagine indulging in a luxurious bath experience, enveloped in the fragrant embrace of a soap you created with your own hands. Beyond the pampering, creating your own soap offers a plethora of benefits, from controlling ingredients to expressing your creativity. This step-by-step guide will unravel the secrets of soapmaking, empowering you to craft exquisite premium soap that transforms every shower or bath into a lavish retreat.
Gathering Your Supplies and Tools: The Artisan’s Arsenal
Just as a painter needs their palette and brushes, a soapmaker requires a carefully curated collection of tools and supplies to transform raw ingredients into a luxurious creation. Before you delve into the captivating world of soap crafting, let’s explore the essential components of your artisan’s arsenal:
- High-Quality Oils and Butters: The foundation of any premium soap, these ingredients provide nourishment, lather, and character to your bars. Choose oils like olive, coconut, shea butter, and cocoa butter to create a soap masterpiece that pampers your skin.
- Lye and Distilled Water: A fundamental catalyst in soapmaking, lye – or sodium hydroxide – triggers the magical transformation of oils into soap. Pair it with distilled water to create the potent lye solution that brings your creation to life.
- Fragrances and Essential Oils: Infuse your soap with captivating scents that linger long after your bath. Essential oils and fragrance oils offer a plethora of aromatic possibilities, from calming lavender to zesty citrus notes.
- Natural Colorants: Elevate the visual appeal of your soap with natural colorants like clays, herbs, and botanicals. These additions not only create stunning designs but also bring an earthy charm to your bars.
- Mixing Bowls and Utensils: A soapmaker’s workshop is incomplete without an array of mixing bowls, spoons, spatulas, and whisks. These tools facilitate precise measurements and smooth blending, ensuring the perfect soap batter.
- Thermometer and pH Strips: Achieving the right temperatures is crucial in soapmaking. A reliable thermometer ensures that your lye solution and oils are at the ideal temperature for successful saponification. pH strips help you monitor the soap’s readiness for curing.
- Molds and Cutters: Shape your soap into works of art with an assortment of molds – from classic rectangles to intricate designs. Once cured, precision cutters allow you to tailor your soap bars to perfection.
- Safety Gear: Safety should always be a priority. Gloves, safety goggles, and protective clothing shield you from any accidental contact with lye or other ingredients.
To embark on your soapmaking journey armed with the essentials, consider exploring soap making kits like the one shown below. These comprehensive kits provide a convenient and cost-effective way to start your soap crafting adventure, ensuring you have all the tools and ingredients you need at your fingertips.
CraftZee Large Soap Making Kit

Understanding the Soapmaking Process: From Science to Artistry
Soapmaking is a captivating dance between science and art. At its heart lies the saponification reaction, a chemical transformation that turns oils and lye into soap. But fret not, for this guide will help you navigate the complexities with grace. Accurate measurements and safety precautions when working with lye are paramount. Mastering the calculation of a soap recipe, adjusting oils and fats, and incorporating fragrances and colorants will set the stage for your luxurious creation.
Step-by-Step Soap Crafting: Sculpting Beauty from Scratch
Embarking on the journey of soap crafting is akin to painting a canvas with luscious oils – each step adding depth, vibrancy, and a touch of your unique essence. Follow these meticulous steps to transform raw ingredients into a premium soap that promises a luxurious cleansing experience.
Step 1: Preparing Your Workspace and Safety Measures
Creating premium soap is an art that demands attention to detail and safety. Before you begin, ensure your workspace is clean and organized. Lay out all your tools and ingredients within easy reach. Donning safety gear – gloves and safety goggles – is a must when working with lye.
Step 2: Measuring and Mixing Lye Solution
Start by measuring out the exact amount of lye needed for your recipe. In a well-ventilated area, slowly add the lye to distilled water while stirring gently. Be cautious as this mixture will release heat and fumes. Allow the lye solution to cool while you proceed to the next step.
Step 3: Blending Oils and Butters
In a separate container, measure and combine your chosen oils and butters. Each oil brings its unique properties, from moisturizing to lathering. Gently heat and melt these fats until they’re clear and well-mixed. Allow the oils to cool to around 100-110°F (37-43°C).
Step 4: Combining Lye Solution and Oils
When both the lye solution and oils are within the desired temperature range, slowly pour the lye solution into the oils while stirring continuously. This is the moment when saponification begins – the oils and lye magically transform into soap. Stir until the mixture reaches a state known as “trace,” resembling a thin custard.
Step 5: Achieving Trace and Adding Fragrance
As your soap batter reaches trace, it’s time to add fragrance or essential oils. Carefully measure and pour your chosen scents into the mixture. Stir thoroughly to ensure even distribution and a luxurious aroma that will linger on your skin.
Step 6: Incorporating Color and Design Techniques
Unleash your inner artist by adding color and design elements to your soap batter. If using natural colorants like clays or herbs, mix them with a small amount of soap batter before adding to the main batch. Explore swirling techniques by gently pouring different colored soap into the mold and using a skewer to create captivating patterns.
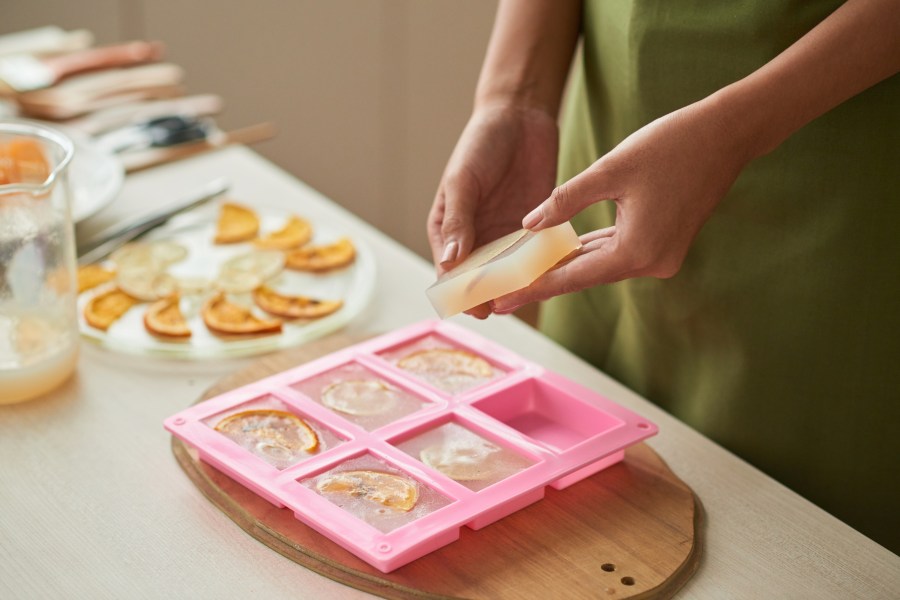
Step 7: Pouring and Curing the Soap
With your soap batter beautifully adorned, pour it into the chosen mold. Gently tap the mold on a surface to release any air bubbles. Now, the waiting game begins – allow your soap to cure and solidify for 24-48 hours.
Step 8: Cutting, Shaping, and Stamping
Once cured, carefully remove your soap from the mold. This is where your creativity truly shines. Use cutters, stamps, or your artistic hands to shape the soap into your desired design. Place the freshly cut soaps on a well-ventilated shelf to cure further for about 4-6 weeks. This extended curing period ensures a milder, longer-lasting bar.
With each step, you’re crafting not just a bar of soap, but a work of art that embodies your vision and care. As you patiently wait for your creations to mature, anticipation builds, knowing that the luxurious experience you’ve crafted will soon grace your skin and elevate your self-care routine to new heights.
Mastering the Art of Scent and Design: Elegance in Every Detail
Scent and design are the symphony of soapmaking, captivating both sight and smell. Choosing the right fragrances and essential oils allows you to curate your soap’s personality – from invigorating citrus bursts to soothing lavender caresses. Elevate your design game with techniques like marbling and swirling, adding stunning complexity to your soap canvas. Introduce textures and molds to craft visual masterpieces that turn every bathing experience into a sensory delight.
Curing and Storing Your Premium Soap: Patience Rewarded
Just as time refines a masterpiece, curing is the key to perfecting your premium soap. Allow your creation to rest and mature, enhancing its quality and longevity. Determine the proper curing time and ideal storage conditions to ensure your soap reaches its full potential. Learn the art of testing soap pH and quality, and discover how to elegantly package and label your handmade gems for a truly sophisticated presentation.
Elevating Your Soapmaking Skills: Beyond the Basics
Once you’ve mastered the fundamentals, the soapmaking world becomes your oyster. Delve into advanced techniques like hot process soapmaking or venture into the realm of liquid soap formulation. Embrace your inner alchemist by experimenting with unique ingredients and additives to create bespoke blends that define luxury for you. And as you craft, keep sustainability in mind, exploring eco-friendly practices that elevate both your soap and your conscience.

Sharing Your Crafted Luxuries: From Passion to Purpose
Your soapmaking journey isn’t limited to personal indulgence; it’s an opportunity to share your craft and connect with others. Bask in the joy of using your own premium soap, gifting your exquisite creations to friends and family, or even embarking on a venture to sell your luxurious products. Join a community of fellow soapmakers, exchanging wisdom and inspiration, as you collectively elevate the art of soap creation.
Creating premium soap isn’t merely about crafting a cleansing bar; it’s a symphony of scents, textures, and sensations that weave together to enhance your self-care routine. With this step-by-step guide as your companion, you possess the knowledge and creativity to embark on a soapmaking journey that embraces luxury in every lather. So, roll up your sleeves, gather your supplies, and let the magic of soapmaking unfold – turning your everyday routine into an opulent ritual of self-pampering.
Some links may earn commission.